
Australian Road Rider would like to publish your touring and travel stories. The magazine prides itself on the quality and diversity of its touring and travel articles and we’d like to include more from readers such as yourself.
Your travels are unique, as is your perspective on the journey and the places you visited along the way. Where you ate, what you saw and the experiences you had are the result of planning, luck and maybe the companions you rode with. There’s a really strong chance your story will resonate with other readers of this magazine.
Here are some tips on putting together an interesting tour story, but if you read them and feel it’s all too hard, don’t stress: just write about your trip as though you were writing a letter to a friend who would have loved to have come with you but couldn’t make it.
• A tour story is about a trip that has happened. A travel article is more a how-to about where to go and what to do. If you’ve been on a trip, write about it and send it in for consideration; if you’re keen to write about your favourite road/town or region, email the editor first with details of where you’re thinking of and why.
• Write in the first person, past tense. This is your personal account of the trip, so we want to know what inspired, excited, energised, stimulated, frustrated or challenged you. While occasionally (often for moments of intense excitement) writing in the present tense works well, usually you’ll be writing the story when you’ve returned home and writing in the past tense is easier to understand for the reader.

• Write to your photographs. Take lots and lots of pictures and use them as a reference to jog your memory about a place, person or scene. Don’t be afraid to ask your travelling companions if you can use their pictures for your story.
• Quote your companions. Take notes if you can, or simply check with them about what they said at the time later, but having the voice of others can often make your story more dynamic and interesting. Think about what your mate said just before you burst out laughing…
• Don’t write chronologically. No one cares about the weather on the day you left home (unless it’s extreme – “We loaded the bikes up quickly, because Cyclone Georgie was bearing down and we wanted to be on the road before she arrived with her 160km/h winds… ”)
• Start the story with an anecdote. That’s a personal experience from the trip – it could be a sunrise, a meal, a town, a flat tyre, a near miss or a chance encounter with another rider, local or animal. Just something interesting which can help set the scene for the reader.

• Early on you need a hook. That’s writing jargon for drawing the reader in with the tone and point of the story. If you’re heading for a particular road, place or region, that’s how you can start, by telling the reader why you chose to go somewhere and what you found when you arrived. “I’d been planning to ride twisty roads in the Adelaide Hills for decades, because Australian Road Rider keeps publishing stories about how good they are… and the magazine wasn’t kidding. I found corner after corner of beautiful, grippy asphalt winding its way through one picturesque town after another.” The best touring stories bring the reader along on the journey.
• Weave facts into your descriptions and observations of where you travelled, what you saw and experienced. A little history can bring a town to life in the reader’s mind. Check your facts.
• Describe the things you see in visual detail. Saying the view is beautiful tells the reader little: write about the colours, the details, the trees, fields, light… even the sky, the contrast. What makes the scene interesting in the first place?
• Try to have a narrative running through the whole article. That usually means the hook you started with is also the theme of the entire story, connecting the start, middle and end of the journey. Cherry-pick the highlights of the trip and talk about how they relate to what you expected before leaving home. Include anecdotes and descriptions of the experiences you had, the people you met and travelled with, the food you ate and places you stayed.
• Consider what is really of interest to readers – they don’t want to know about your cold, how Fred pulled out of the trip a week before departure, or how day four was perfect weather – unless it’s pertinent. Fred pulling out might be important if it now means you’re riding around Australia on dirt roads solo. Or how the cold put you into hospital and you met a cute doctor. Or how day four was the only nice weather in a 14-day ride.

• Try to describe the wider view of the whole trip, a narrower look at your day-to-day travels and then focus in on some details. This gives the story a richness and depth.
• Try for detail. If you’re telling us about a great cafe, gives us its name and address. If you want to rave about a great lookout, tell us how to get there and what is the best time of day to visit (or at least what time/date you visited).
• Don’t be afraid to have a go. The editor won’t shame you on Facebook if the story isn’t suitable for Australian Road Rider, you’ll just get an email saying so.
Send your stories to npaterson@umco.com.au with ‘Tour Story’ in the subject line.
Shooting your travels
You don’t need fancy equipment to capture some great images of your travels – a reasonably modern smartphone can be simply amazing. That said, there are still many good reasons to use a camera and if you’re hoping to have the story of your tour published in Australian Road Rider.
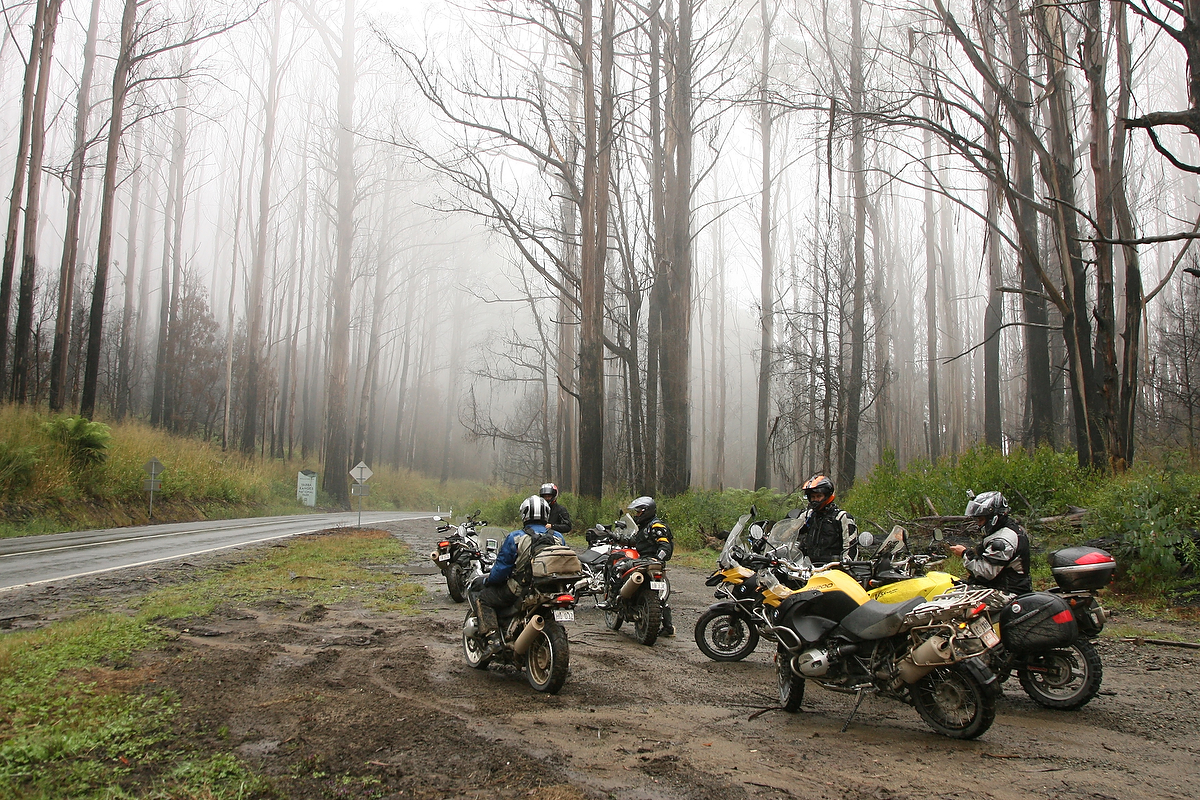
If you’re hoping to have your story published in Australian Road Rider, take lots of pictures – not 100 shots at once, but consider stopping to take photos rather than taking photos when you stop. The difference is coming back only with shots around where you eat and refuel, rather than the beautiful scenery, winding roads, people you rode with and the brilliant sunsets you saw on the ride.
Phones and cameras
I’ve published many a phone picture: it’s not about the camera, it’s about the subject, the composition, the light.
While phones are great because they are always in your pocket and will do a fantastic job of getting the exposure right, they don’t do the thinking for you. You still have to point the lens at the subject and press the button, but where there’s light falling on the subject and it’s filling the frame nicely, a phone will usually do just fine.
Phones often do a great job where the subject is close to the camera, not moving and the light is soft (no harsh shadows). So for shooting food, people in the shade and a well-lit scenic, they can often do a good job.

Getting the shot
The hardest thing about shooting motorcycle tour photos is time. The time to stop the bike, get out the phone or camera, compose the shot, take a few more at different angles then get going again.
It often takes just 10 minutes, but your non-shooting friends will soon hate you for it, because it upsets the flow of the ride: most riders only stop at servos and places to eat.
And sure, Australian Road Rider readers want to know about great places to eat, but photos of your lunch won’t illustrate a tour story.
So we recommend planning. Work out in advance where there are some lookouts where you can stop for a photo opportunity, where the rest of your companions might like to have a break. Make sure there’s a snack or drink in a pannier so they aren’t twiddling their thumbs.
Get up early and ride out to a local monument or hill and check out the view. If you’re back in time for breakfast, no one will care. Do the same at the end of the day, after checking in to your accommodation – taking photos of the sunset is better for you than a couple of schooners, too.
Don’t be afraid to tell your companions you’re going to stop along the way before lunch and that they shouldn’t wait: they can have a longer, more leisurely lunch than you… maybe even get someone to order a sandwich for you so it’s ready when you arrive 10 minutes later.
The crazy thing about this is all your friends will want your pictures to share with their friends.
And you know a funny thing? On organised tours, the operators will often stop at great locations for a photo – because everyone wants a shot. I suppose it’s the difference between a motorcycle holiday and a ride with mates…

Travel Cameras
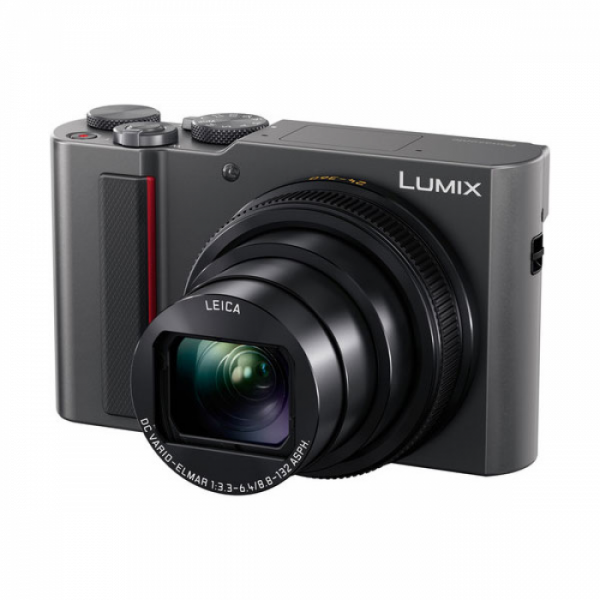
If you’re a photography enthusiast, you’ll want a camera with interchangeable lenses, but if you want to step up from your phone without going to the expense, learning curve and complexity of DSLRs or mirrorless systems, a Travel Camera with a long lens might be perfect.
Travel Cameras are an all-in-one units with a lens which goes from wide angle (capturing lots of a scene) and zooming to telephoto (for bikes, animals and distant vistas). Look for one with a lens which goes out to at least a 200mm equivalent.
These cameras are often compact, versatile and provide much better images (usually) than a phone, with prices starting at around $400, although a unit like the Panasonic Lumix TZ220, at $999, would be much better.
Action cameras like the GoPro are great for video, less so for photos, except for the occasional onboard shot and shooting your mates as everyone rides along.
Interchangeable lens camera kits
Gone are the days where 35mm cameras ruled the world – these days there are a huge range of choices for photography enthusiasts, from smaller formats like Micro Four Thirds through to a new Fujfilm medium format camera which is (almost) affordable.
The DSLR (digital single lens reflex) camera was long considered the right choice for quality photography, but cameras with mirrors are now a dying breed, replaced by ‘mirrorless’ cameras with electronic viewfinders and screens which are more compact, lighter and simply better in many ways.
Dig into the world of digital photography and Full Frame cameras are definitely getting the publicity. Full Frame cameras use a sensor the same size as the old 35mm film frame and the quality these days is truly superb. Sony and Canon in particular are making some incredible cameras and lenses to go with them.
I don’t recommend Full Frame for motorcycle touring through – the lenses are too bulky. The camera manufacturers have done an incredible job of making the cameras compact, but the lenses, especially telephoto units good for shooting motorcycles, are bulky, heavy and often expensive.
I’ve switched to Micro Four Thirds, a system which uses a smaller image sensor in compact camera bodies. The smaller sensor isn’t quite as good in very low light conditions, doesn’t have as many megapixels and isn’t quite as fashionable as the latest and greatest these days. However, the quality of Micro Four Thirds is still incredibly high, way above the pro-grade cameras I was using just a few years back and lots, lots cheaper – and I can carry them on a bike. Panasonic and Olympus are the most well known names in Micro Four Thirds.
There are other camera formats available too, such as APS-C, (Canon, Fuji) which fit in the middle.
A camera kit
Most interchangeable lens cameras are supplied with what’s called a standard zoom – a cheap lens which goes from just about wide angle to short telephoto. For shooting a small group (like a family) through to a single person portrait at the telephoto end, they are fine, although not much better than a phone.
Depending on the camera you choose, where you buy it and the gear you want, the standard zoom might be worth buying, but I don’t recommend them for shooting bike trips. Often you could use a fixed lens and walk closer or stand further back.
For motorcycle touring, you’ll want a wide-angle lens for capturing the big scenes, a standard lens for standard scenes and a telephoto for shooting bikes and distant objects. You can get all that in one lens, but it might be bulky, slow (which in camera-speak means won’t let a lot of light in, which causes other issues) and expensive.
Alternatively, a wide-angle zoom, fast standard prime lens and a telephoto zoom might be a better travel kit. The wide-angle zoom lets you get lots of a scene, or zoom in a bit for what would be the wide setting of a standard zoom. A fast standard prime lens – equivalent of the old 50mm lens on a 35mm camera – is often lightweight, cheap, sharp and fast. They are great for low light and shallow depth of field as well as fitting nicely between your wide lens and the telephoto zoom.
A compact telephoto zoom needn’t be expensive and is great for capturing action shots of bikes, zooming in on details or when you can’t get too close (birds, snakes, mountain tops).
An example kit might be the Olympus OMD E-M10 Mark III (and you thought bikes had long, crazy names) for $799 and three lenses: the Olympus 9-18mm ($749), Panasonic 25mm ($269) and Olympus 40-150 ($349). Keep an eye out for package deals – Ted’s Cameras is currently offering a kit close to this for $1299.95, but with a standard zoom instead of the wide angle zoom.
You can spend less or a whole lot more, but spending less probably won’t step you up from a phone or Super Zoom by much. Spending more will get you weatherproofing, improved build quality and better image quality (sometimes, in some conditions) but often with more weight and bulk.
Send your stories to npaterson@umco.com.au


